Testing using the Wing Console
The Wing Console is a graphical user interface that can be used to interact with Wing applications on the local machine.
Opening your app in the console
Make sure you have installed the Wing Console on your system before getting started with this step.
If you are unable to install the Wing Console (e.g. you are running on Linux), you can also test your application programmatically or deploy it to AWS.
We can use the Wing CLI to start the console with our newly created Wing source file:
wing it hello.w
The Wing Console will now compile hello.w source file to the simulator target and load the application.
The console will "hot reload" your app on each change in the source file parent directory.
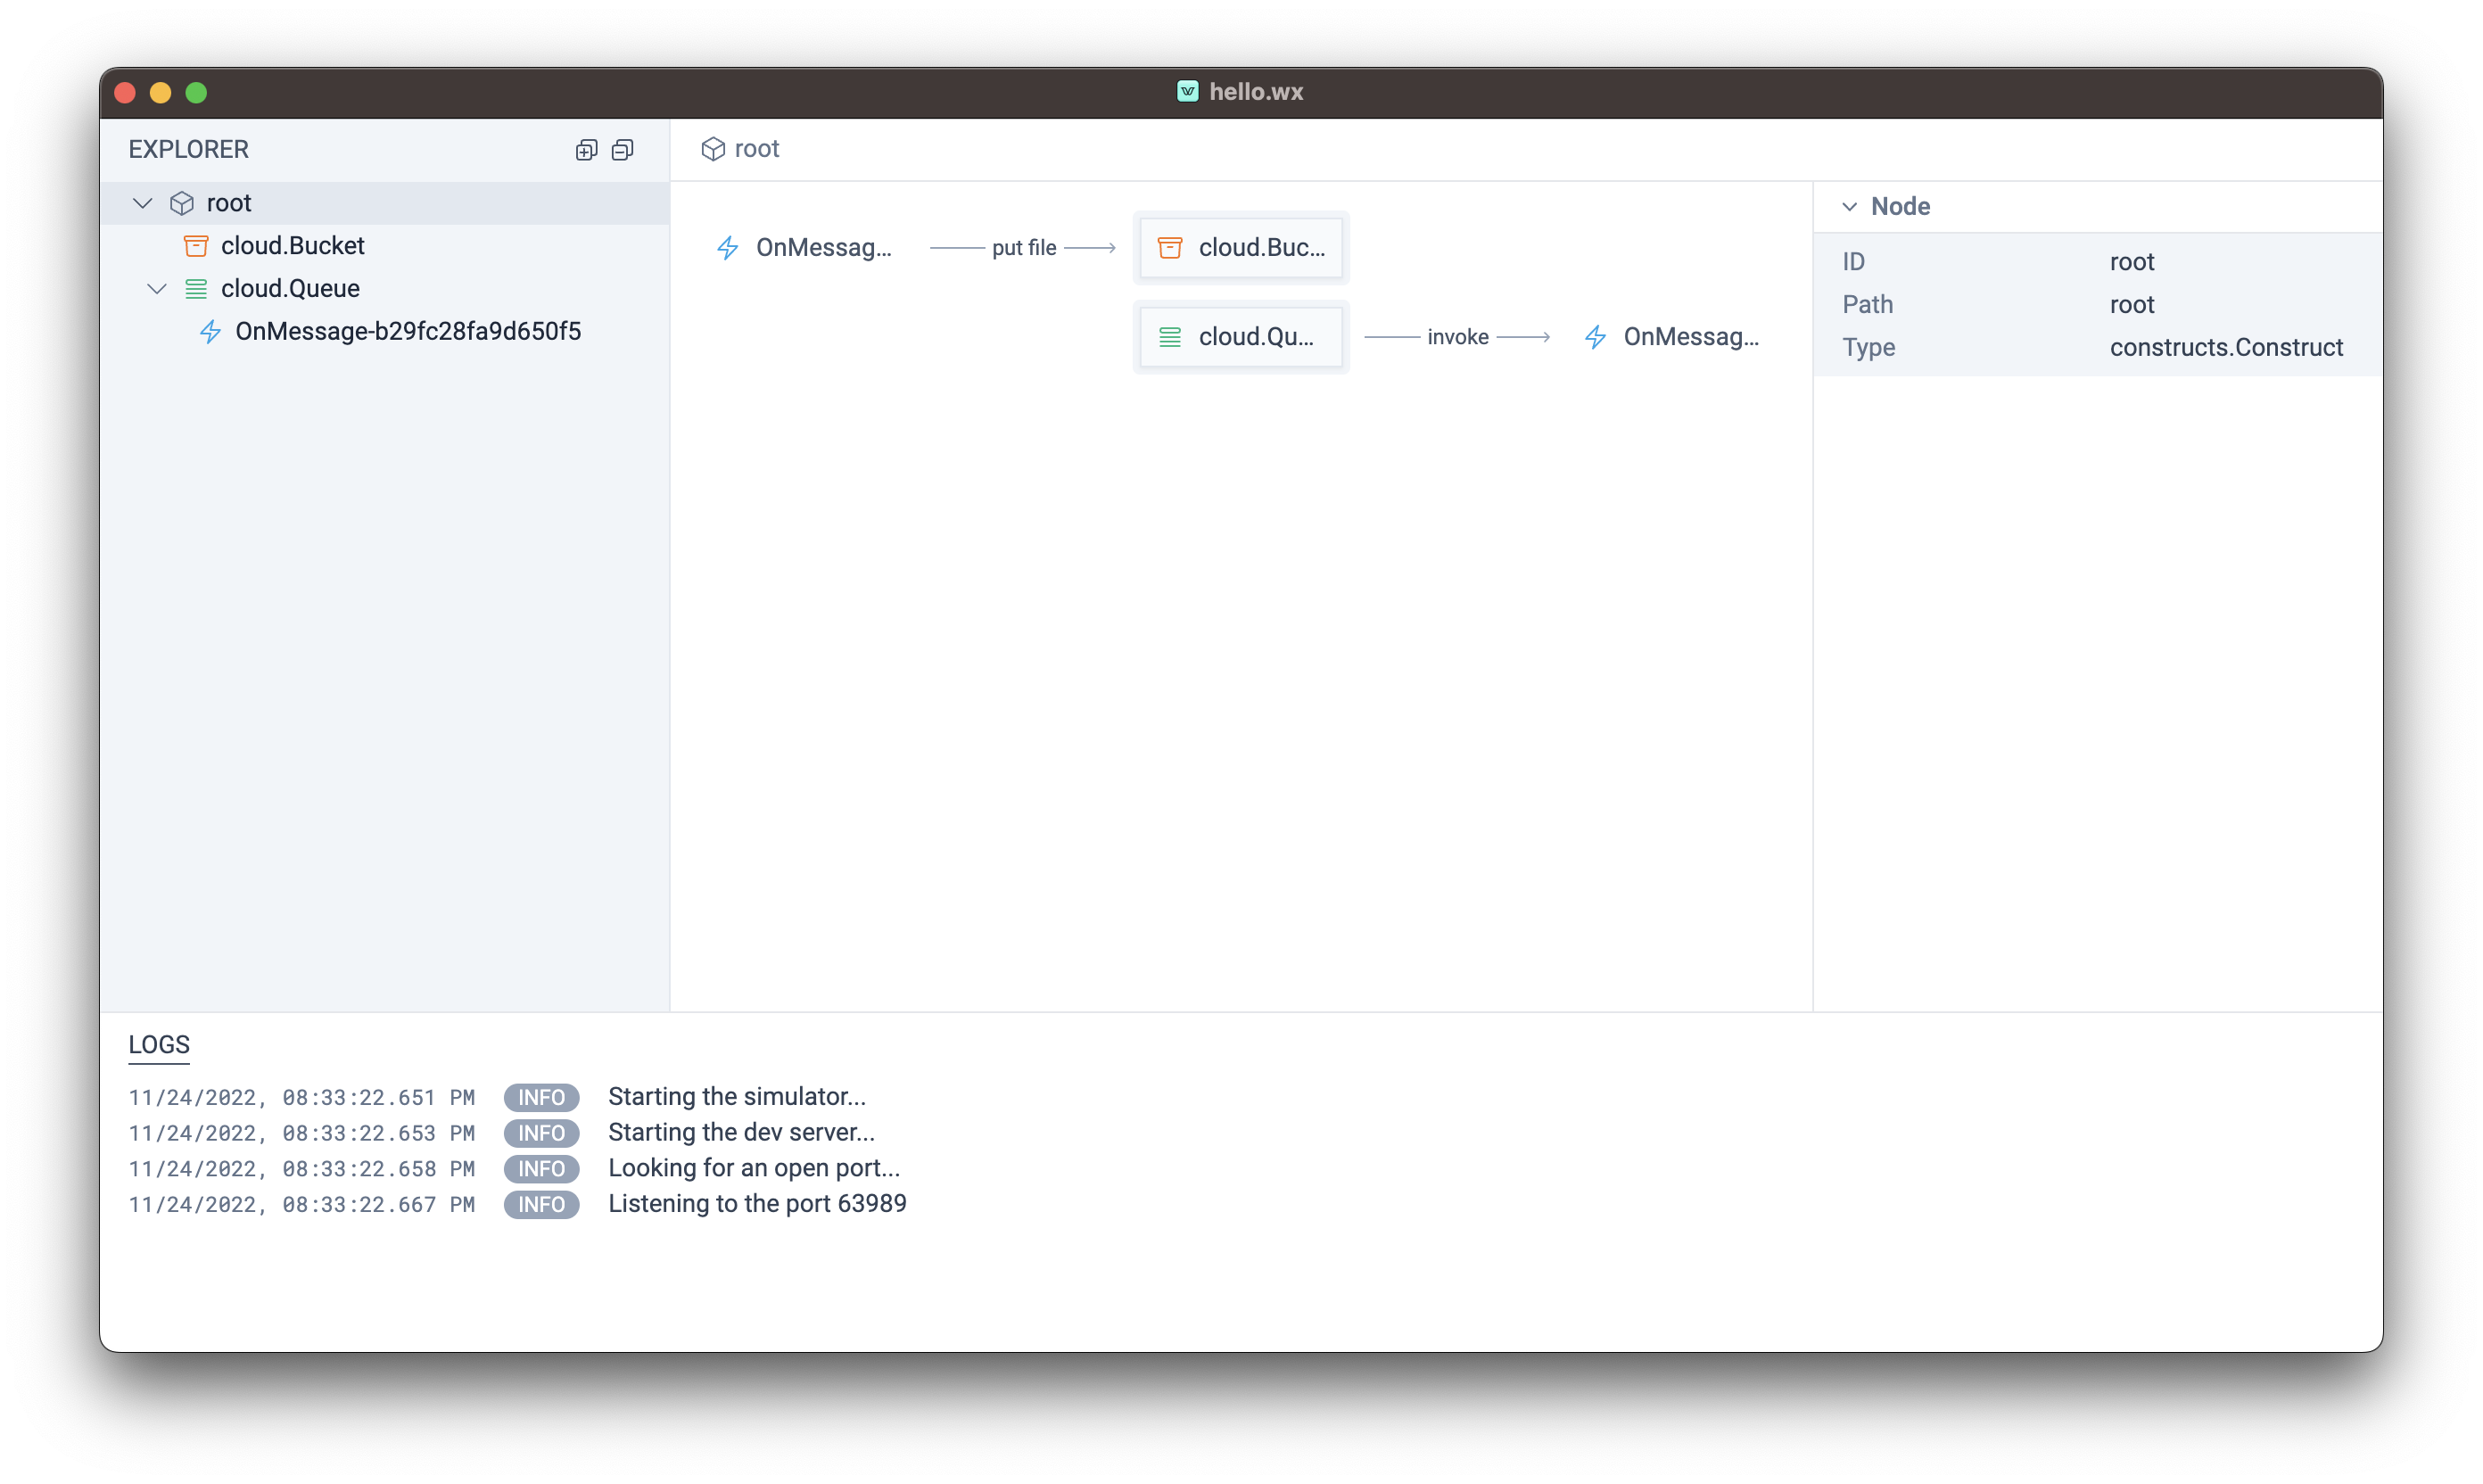
Wing Console desktop application will show the following view of you application:

You are now able to run your IDE and the Wing Console side-by-side and watch how changes to your code update your application.
The console view
In the main view you'll see two resources: a Queue and a Function.
You'll also notice that the function is connected to the queue through the
message event.
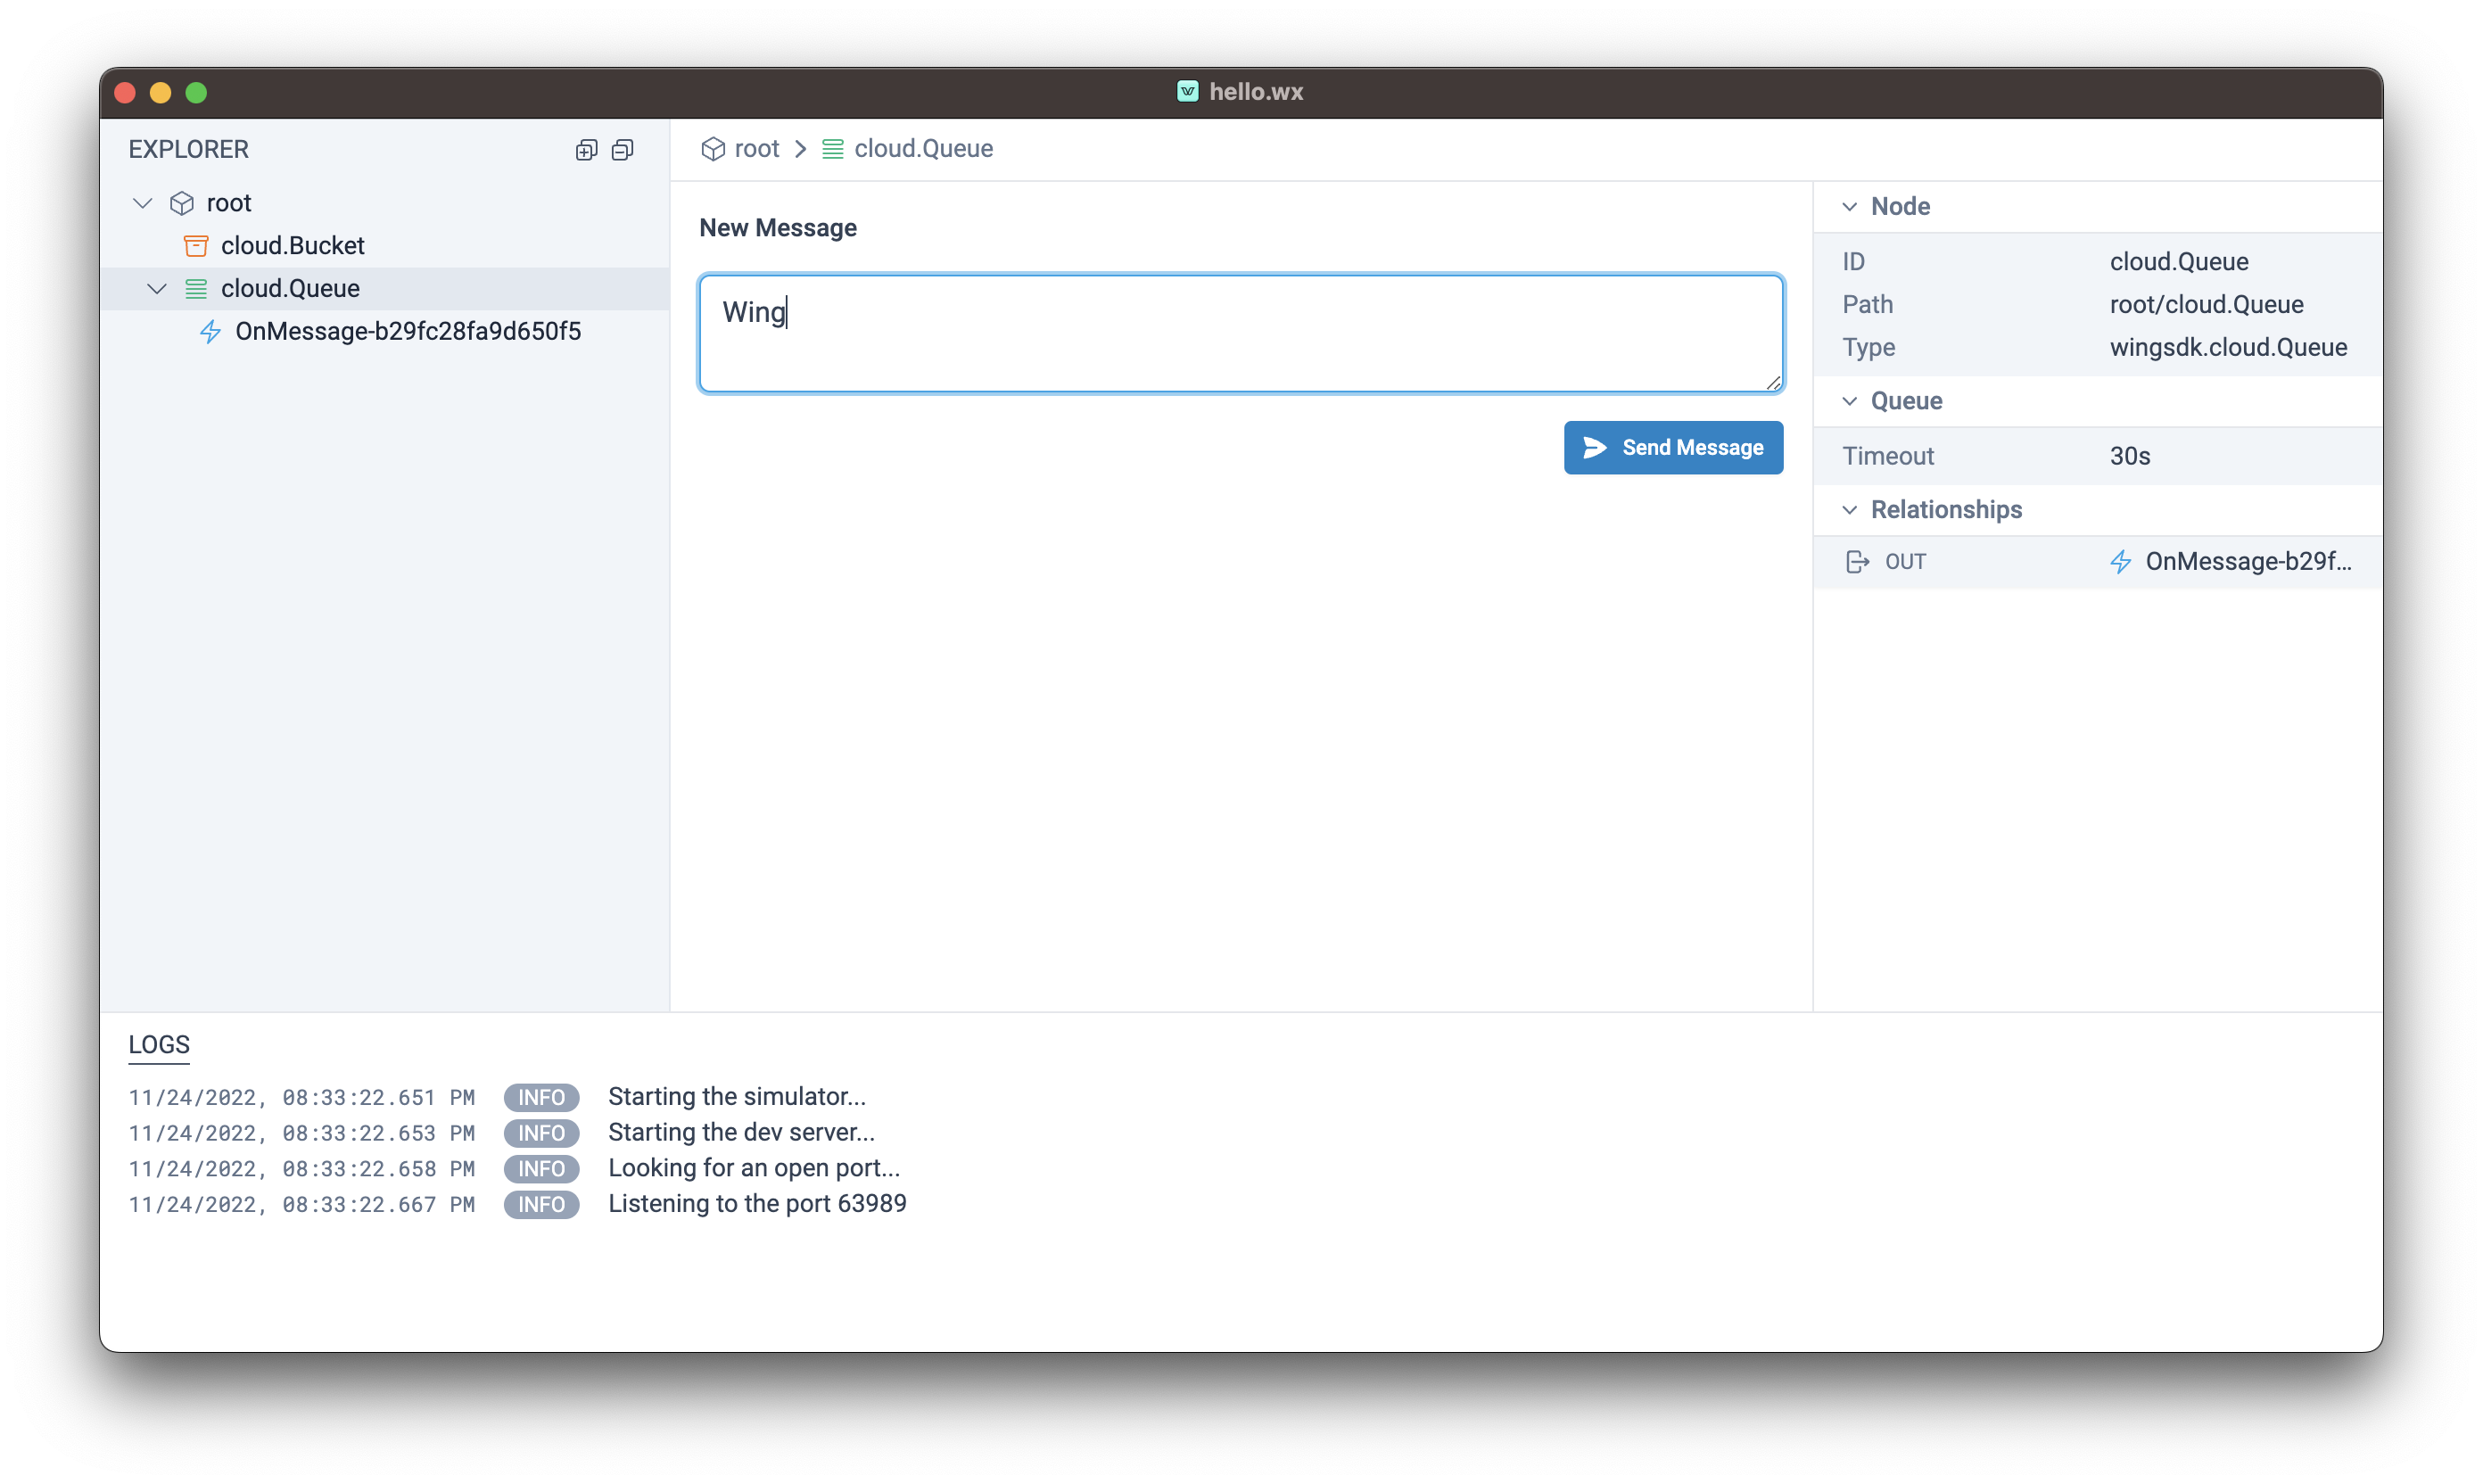
Once you click on the queue resource, the console will navigate into the queue resource. The inspector pane on the right will show information about your queue, as well as any relationships (in our case, an outbound relationship to the function that handles messages).

Sending a message to the queue
In the center you should be able to type in a message and send it to the queue.
Type Wing and hit Send Message.
Viewing the file
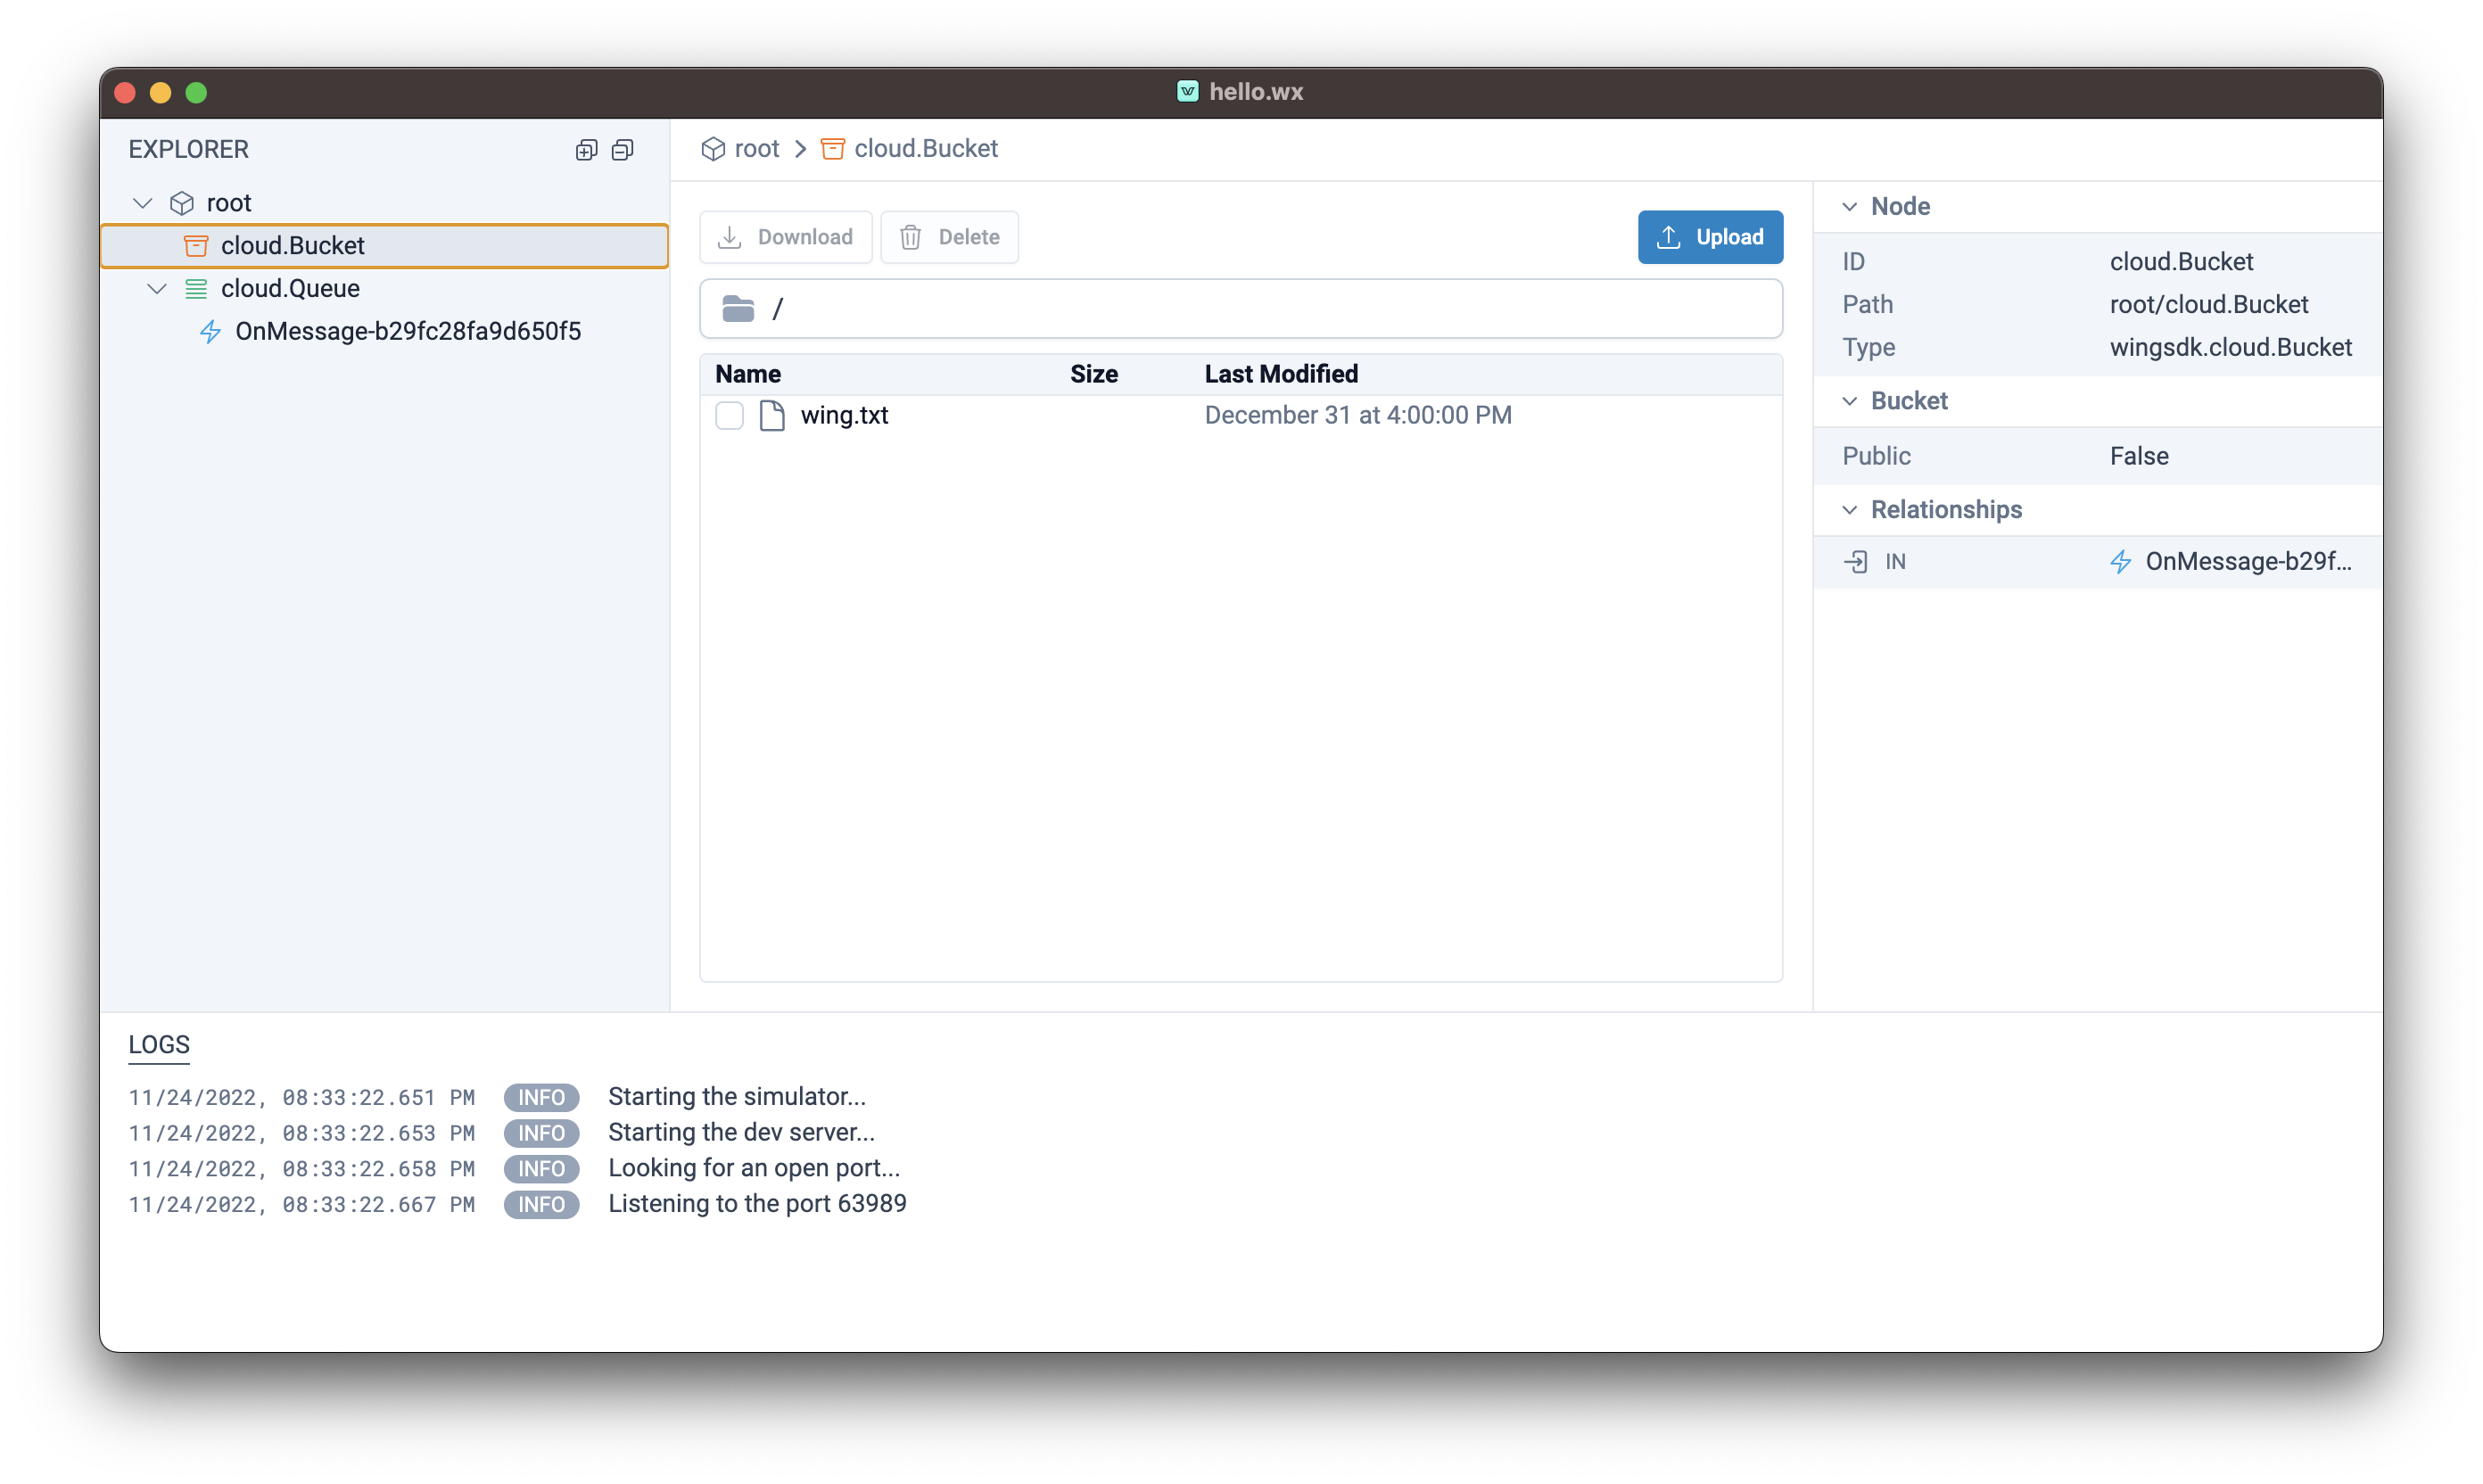
On the left sidebar click on the Bucket, you will see the following view:

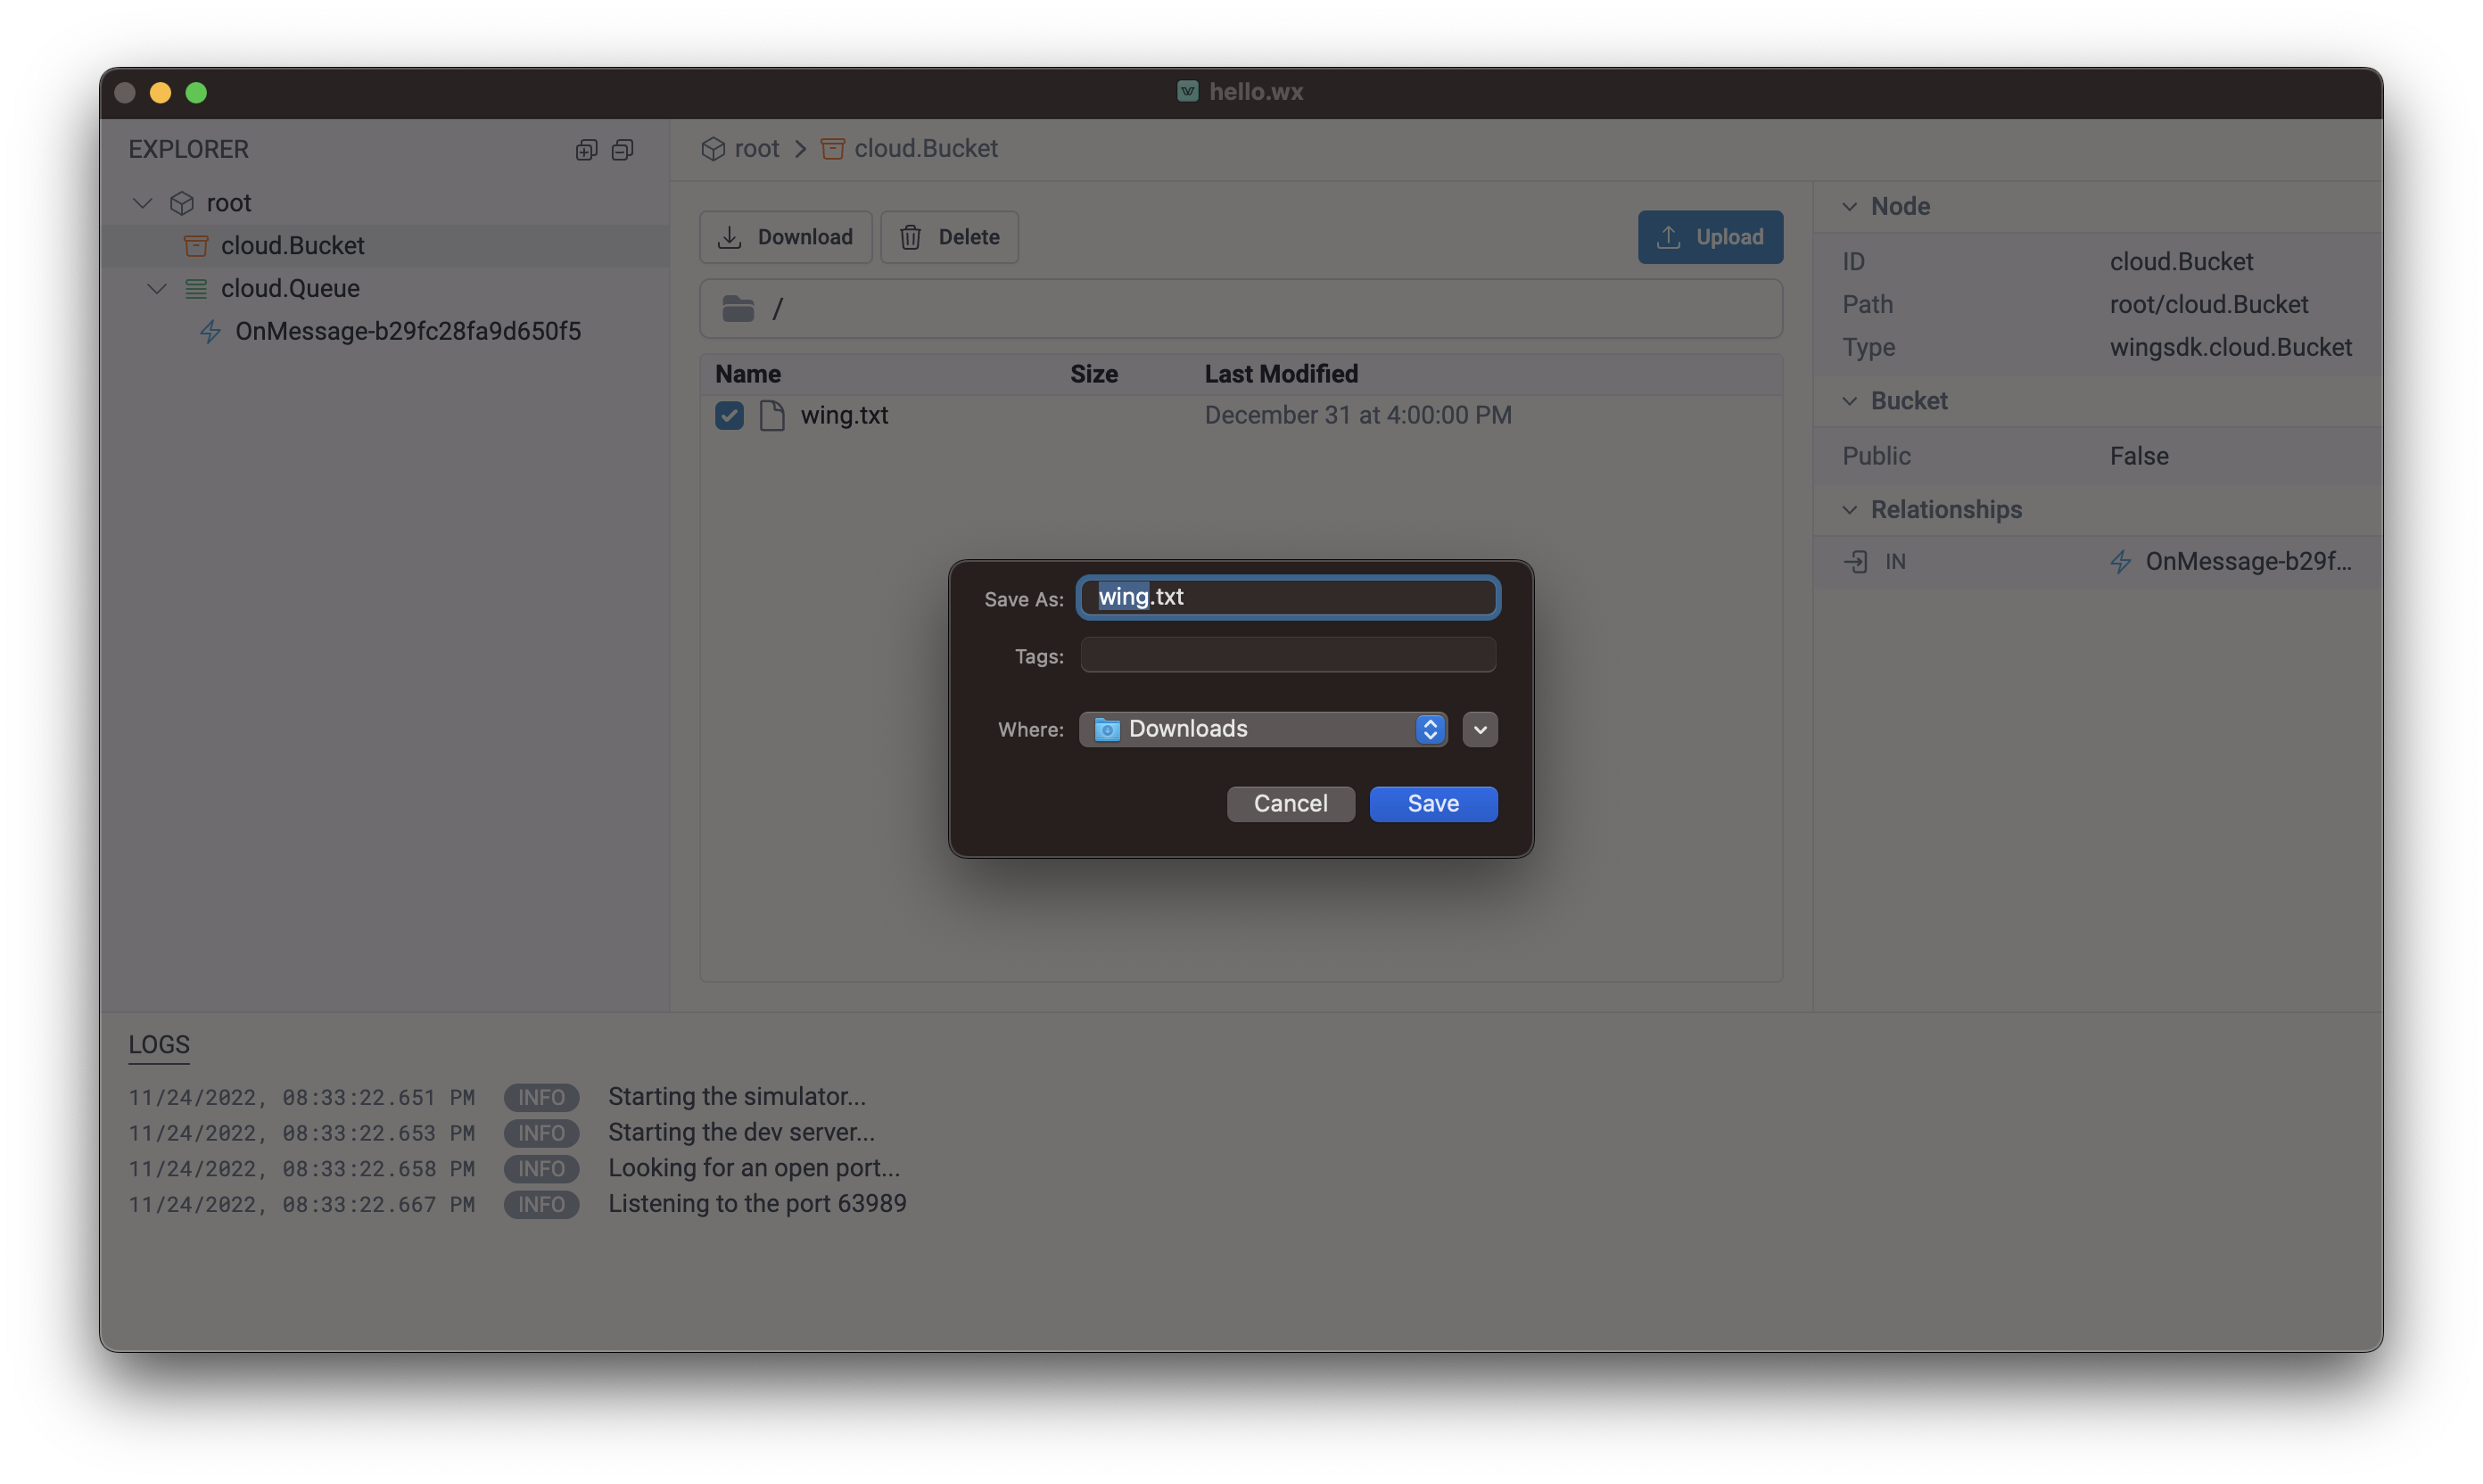
Now, check the wing.txt file and download it, using the download button

The downloaded file should contain Hello, Wing text
Congrats! 👏
You have just written and tested your first Wing program!
Now, after you have tested your application, lets deploy it to AWS.